Silo for Research (Toolbox) shortcuts can be created from the Silo Admin Console —or— from the New Launcher interface. The Silo Admin must have Resource Provisioning permissions, and the organization must be licensed to use Silo for Research, along with a specially provisioned Silo for Research (Toolbox) web app
Silo Admin Console Provisioning (Advanced)
1. Launch the Silo Admin Console then click Manage right below Web Apps

2. In the first pane, click the [ + ] icon to expand the Web Apps catalog
Enter Toolbox in the search field > select Toolbox > click the Right Arrow to provision the web app into the middle pane

3. In the 3rd pane, click the [ + ] icon next to Browser Location then click the Down Arrow next to All to expand the browser location options
For Best Practice, choose a browser location that is either:
A. closest to the specified Egress Location (see Step 4)
B. closest to the general geographic location of the analyst(s)
Important: Selecting All as a Browser Location will enable the Silo for Research session to run in any of our global browser locations. If web performance is a priority, please review our Best Practice recommendations


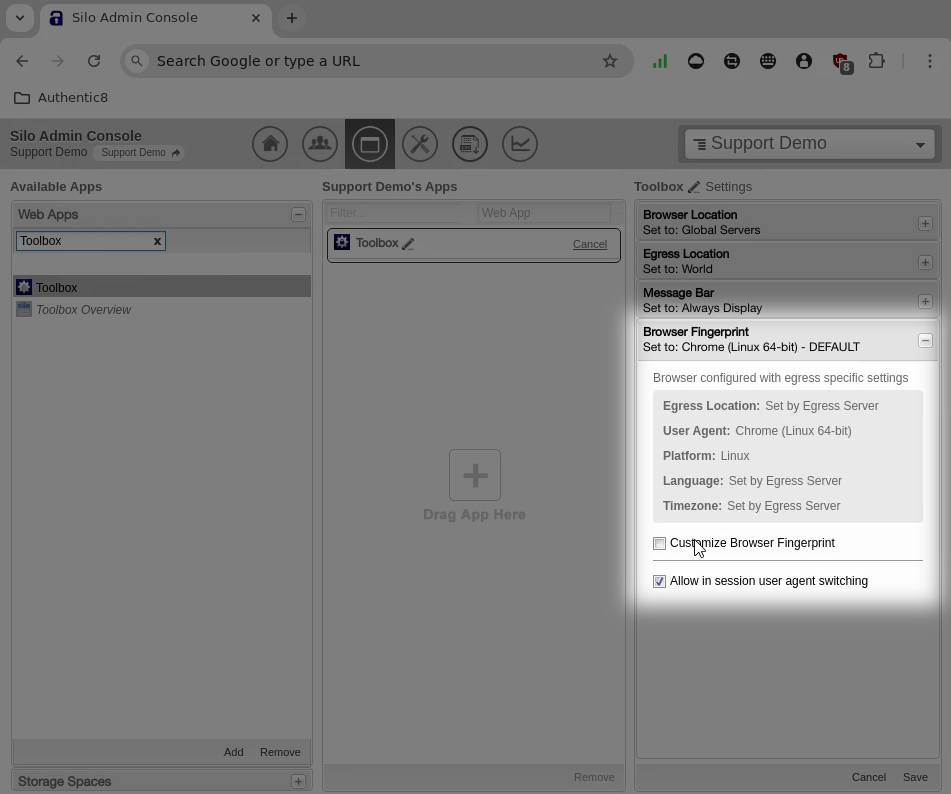
5. Click the [ + ] icon next to Browser Fingerprint and adjust as needed — default is recommended for best browser compatibility, but not necessarily for misattribution use cases
6. In the top section of the third pane, click the Pencil icon next to Settings, then label the shortcut accordingly
Remember to click Save to complete the Silo for Research launcher creation

New Launcher Interface
Managed Attribution Network Policy
1. Launch the Silo Admin Console then click Manage next to Policies
Navigate to Managed Attribution Network > Launcher Options > Edit
Shortcut Creation
• Users and admins can create Shortcuts
• Only admins can create Shortcuts
Managed Attribution Network Access
• Users can access ALL available egress locations
• Dark Web Access
Optional
• Allow sub-organization admins to modify policy

3. Click Save, then start a new Silo session to allow the policy changes to take effect
Create and Save a Launcher Shortcut
1. From a new Silo Tab and in the Silo for Research Launcher, click Network Options to select the following:
• Data Center
• ISP
• Mobile - Fixed Wireless
• Mobile - Wireless Carrier

2. Click Location to select an egress location

3. Click Platform Fingerprint and select one of the preset options
Please note that custom Browser Fingerprint Management is not available in the New Launcher interface at this time

4. Click Save Shortcut to launch additional options
5. Enter a shortcut label in the Name field then click Save
You will have another chance to apply changes to the launcher options

A Success notification message is displayed, and the newly created launcher will immediately appear in the Shortcuts list
Please contact Support for any additional questions